What did my girlfriend want for her birthday? A Sega Genesis. I’m so happy. Unfortunately, my Generation 1 system disappeared a long time ago. It never stopped working but I think I loaned it away and never got it back. Therefore, I Ebay’d a new one (Generation 1 of course).
I knew that I saved some of my cartridges for a reason including the epic Phantasy Star series (my favorites). However, I had two problems.
1) The beloved Phantasy Star 1 was not a Genesis game. It was made from the precursor, Sega Master System (SMS).

Best game ever made.
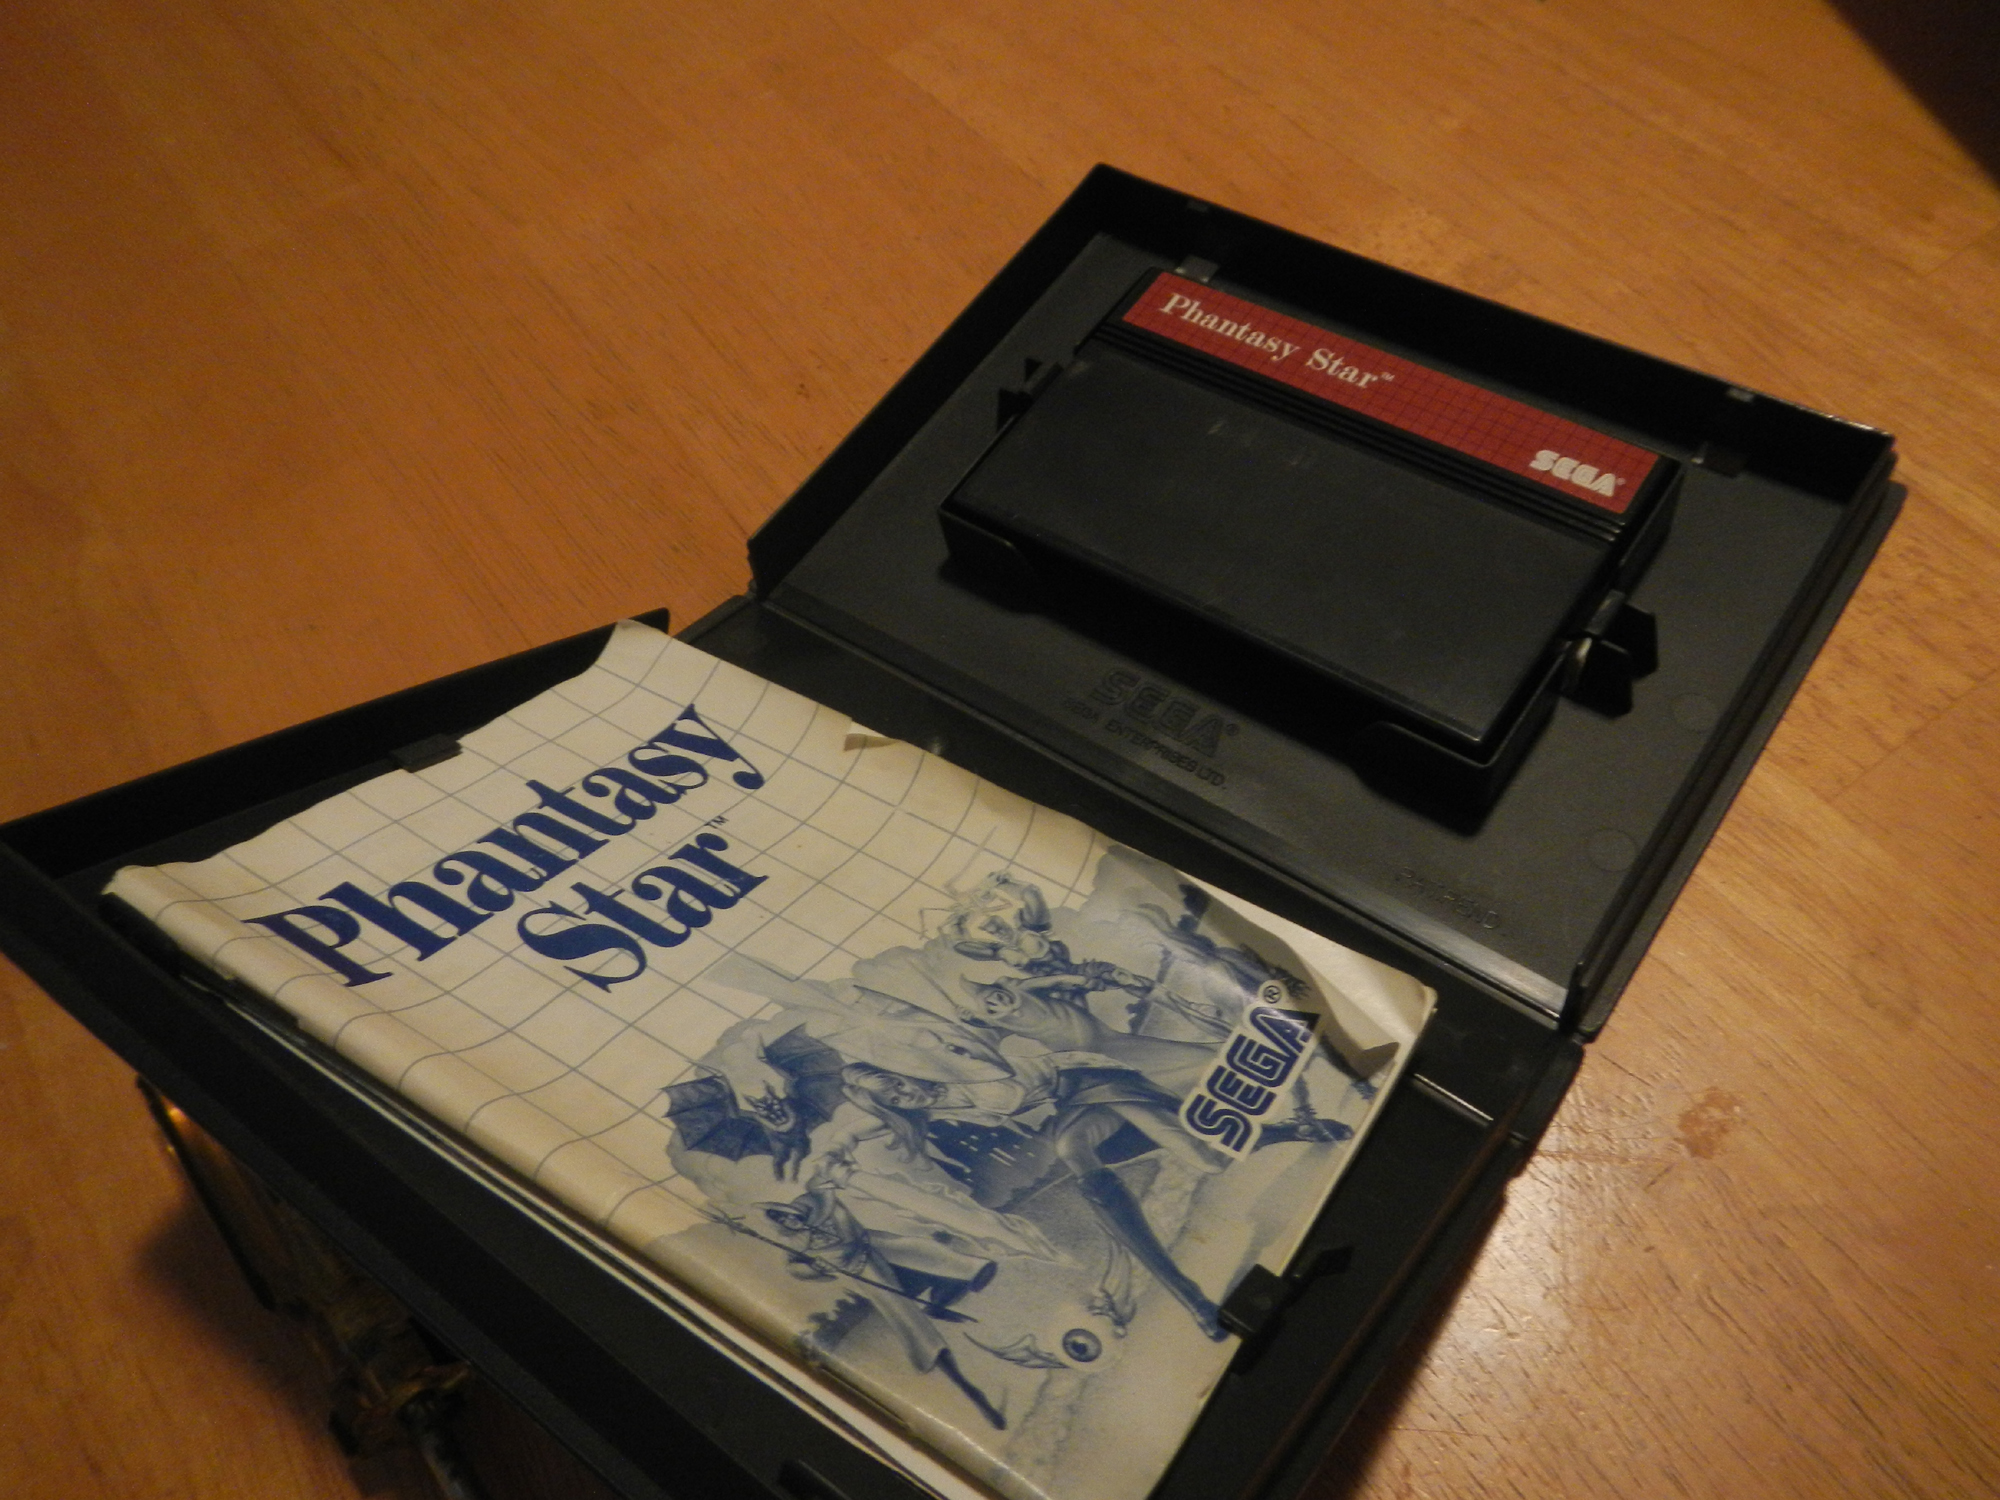
2) Phantasy Star 1 was released in the US in 1988. I bought it immediately. Therefore, in this little plastic container was a 25 year-old battery! I just hoped it wasn’t leaking all over the printed circuit board (PCB) by this time.
Again, my SMS converter for the Genesis was long gone so I ordered a new one; problem 1 solved. I decided to test my cartridge before going any further. I popped the Master System converter in the Genesis and Phantasy Star into the converter.
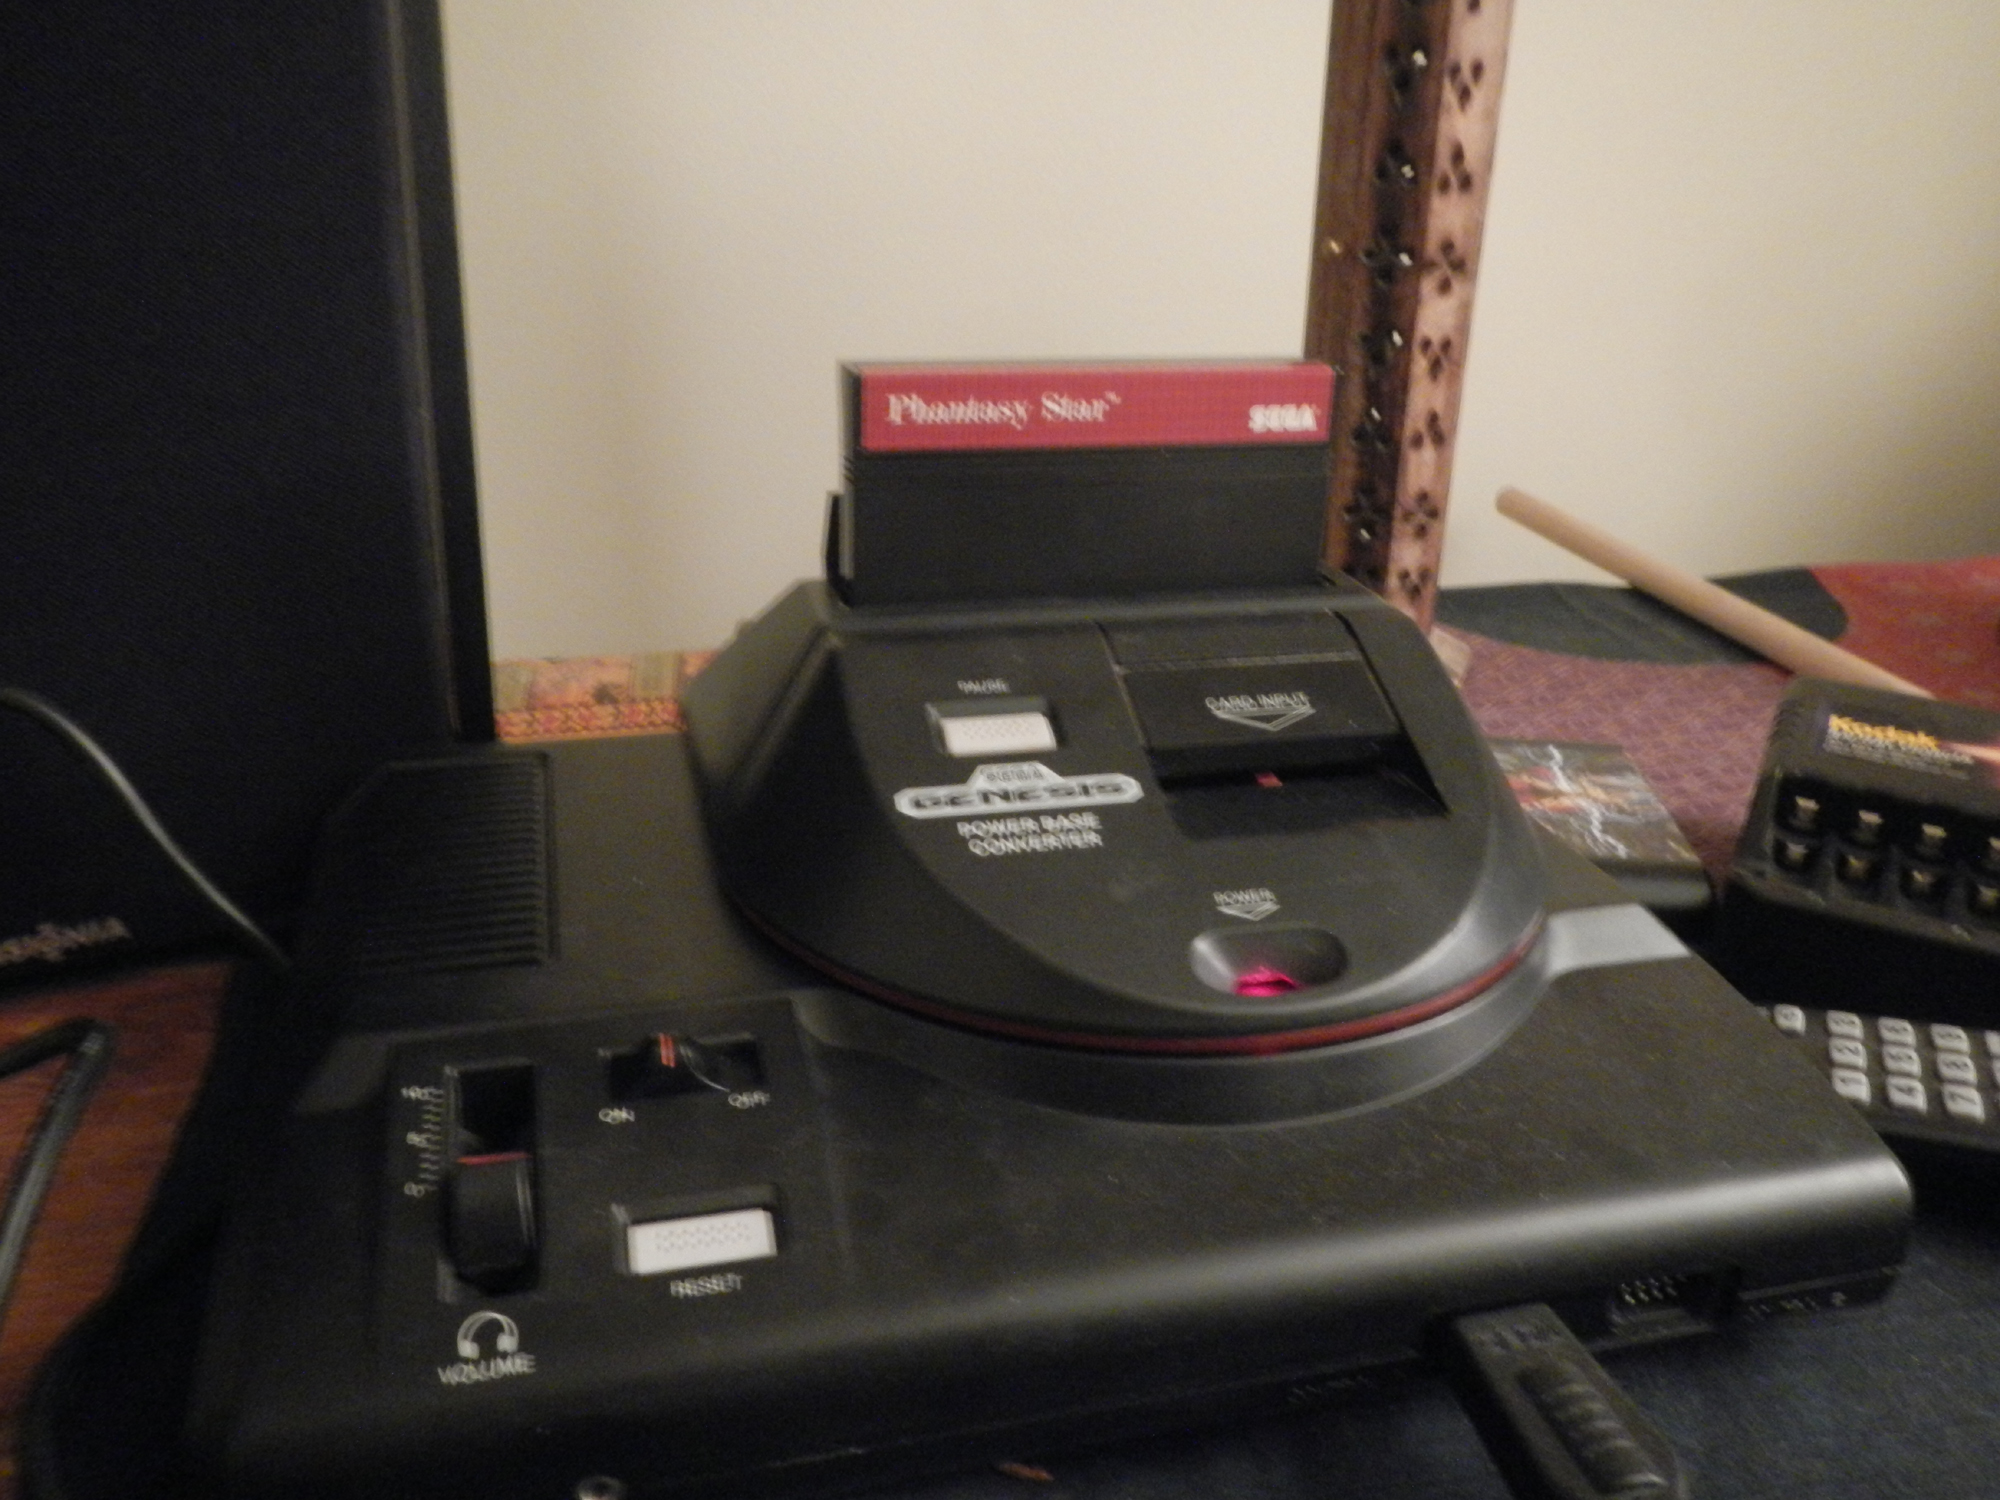
A towering thing of beauty.
It worked! However, my saved games from days past were gone. Not surprising. I started a new game and saved it. What was surprising was that it retained that game a day later! Still, I couldn’t trust that battery. She’d probably have made it to the last dungeon and the battery would have failed. I couldn’t risk a sour Phantasy Star experience.
I now have to give credit to the site which made the battery replacement possible, Pineconeattack! These guys were instrumental in the surgery. I hope I can also fill in some blanks and share my personal experience.
First, I needed to obtain the new battery. Pineconeattack! recommends the button battery, CR2032-T but they used a CR2032-2-15 and were forced to modify things. I tried to find the recommended battery but Home Depot and Radio Shack failed me. I wasn’t worried. I went to Batteries Plus in the next town over. Surely they would solve this problem! I mean, where else would you go for a specific battery? Failure. Not only did they not have it but they couldn’t find it in any inventory to order me one.
I found the specific battery at M-tronics for $1.82 each. Finally progress. As soon as it arrived I cracked open to cartridge that night.

The CR2032-T
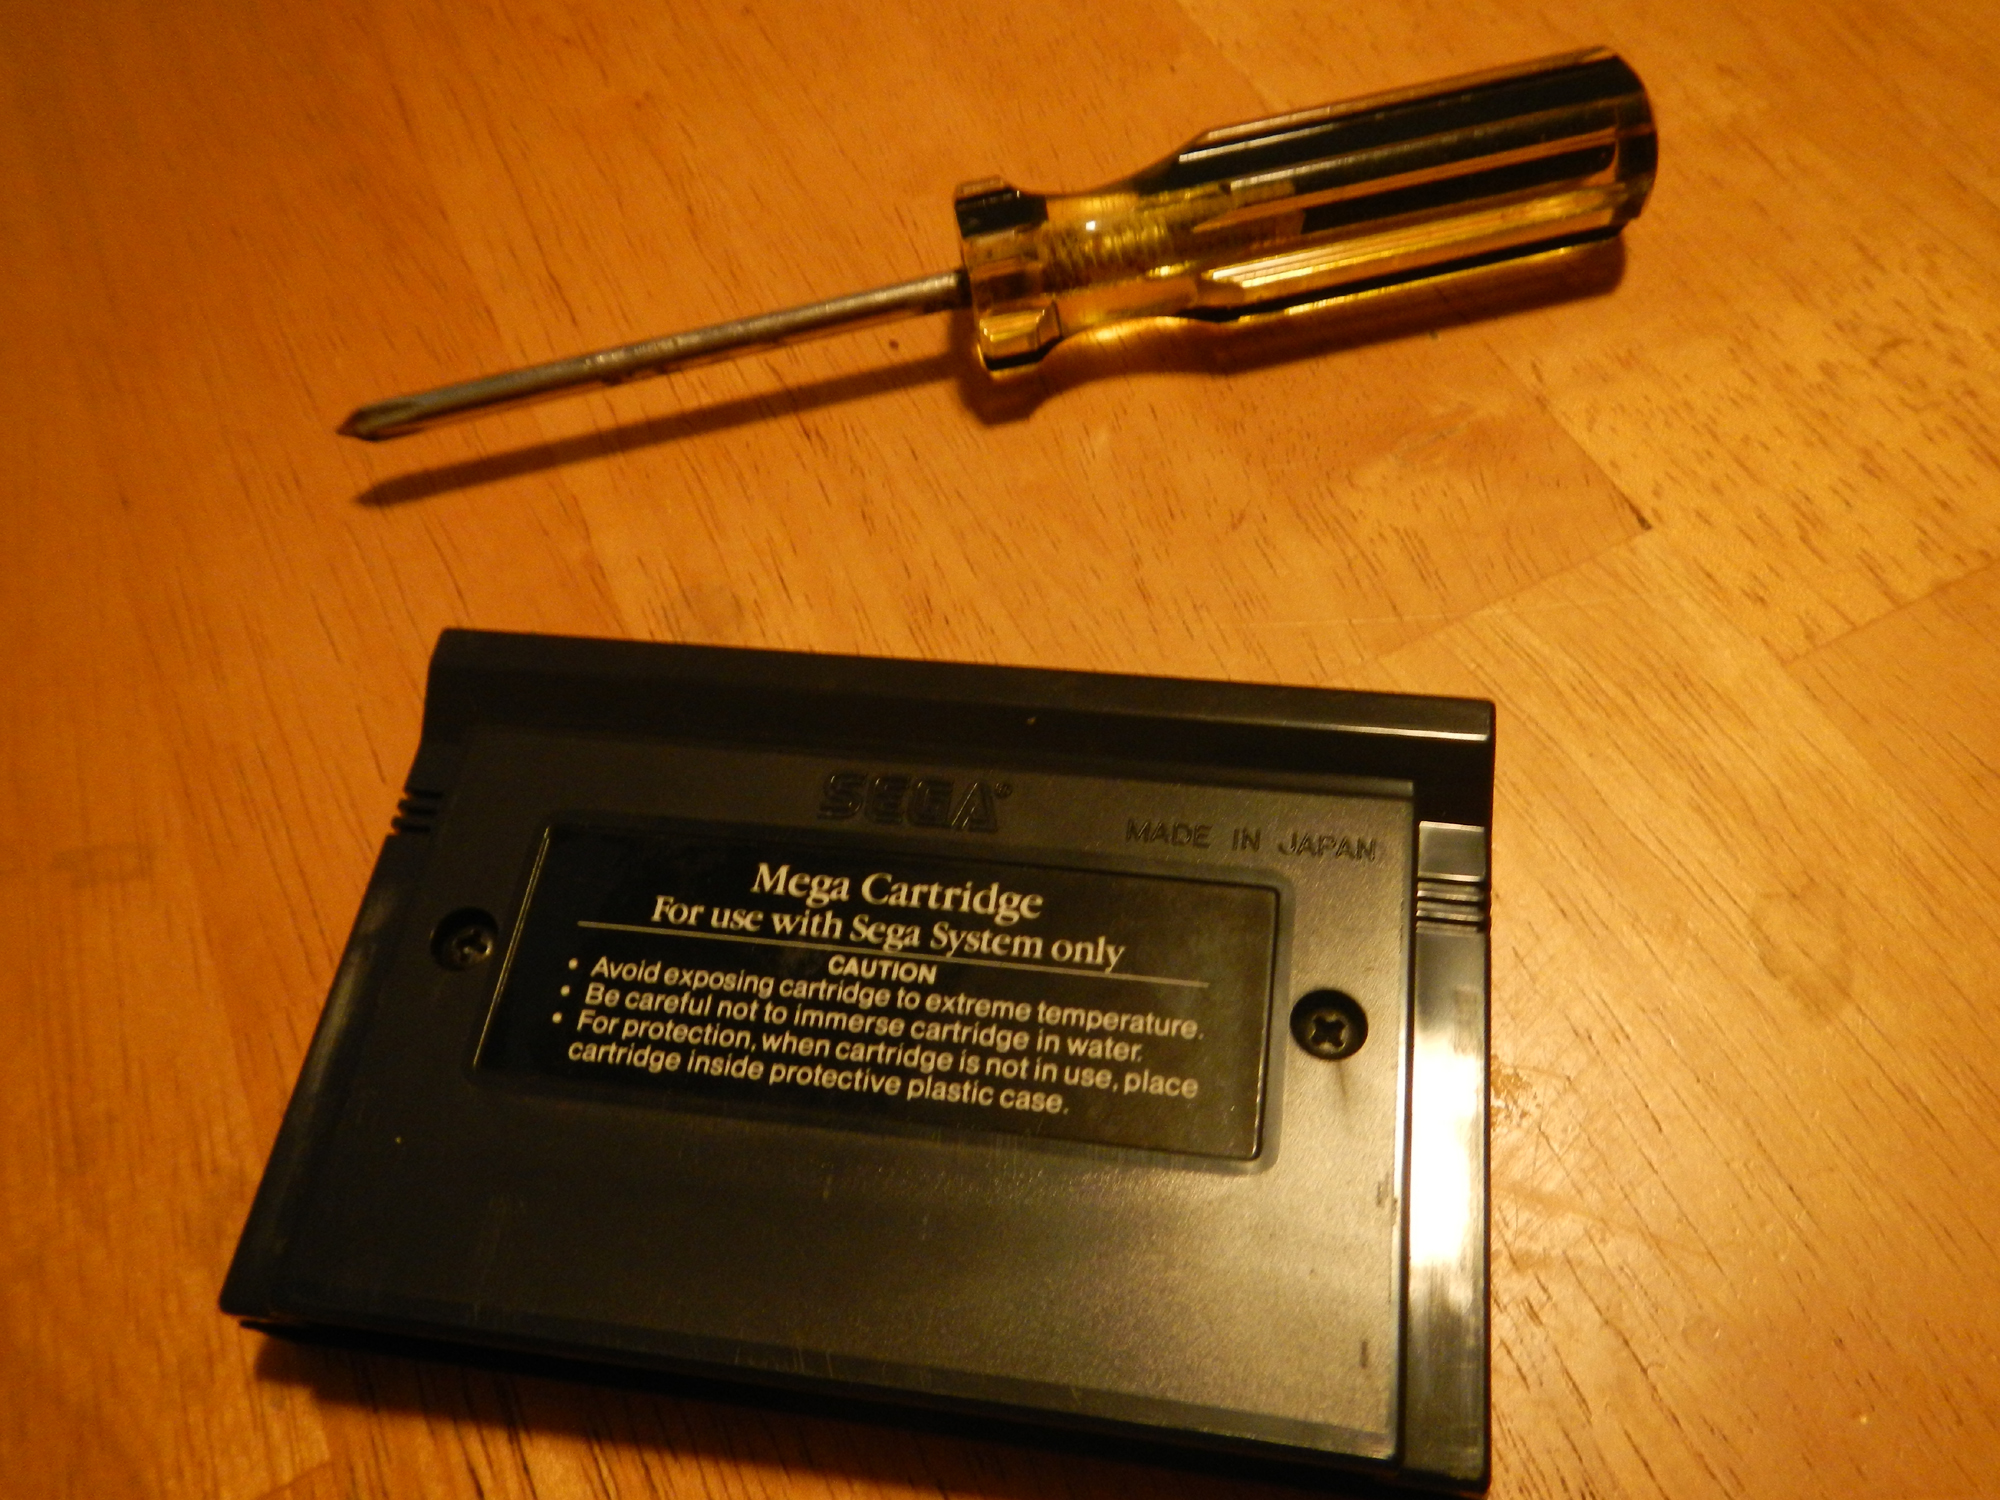
I’m going to be slightly redundant from the other site. There are two screws on the back case. Just open that up to reveal the PCB.

The battery is right there. It is important to take note of the tabs. The +side tab will always face the outside edge of the cartridge. Keep that in mind. In the picture above, the top is the +side and the +tab faces the outside. Flipping the PCB over shows this:
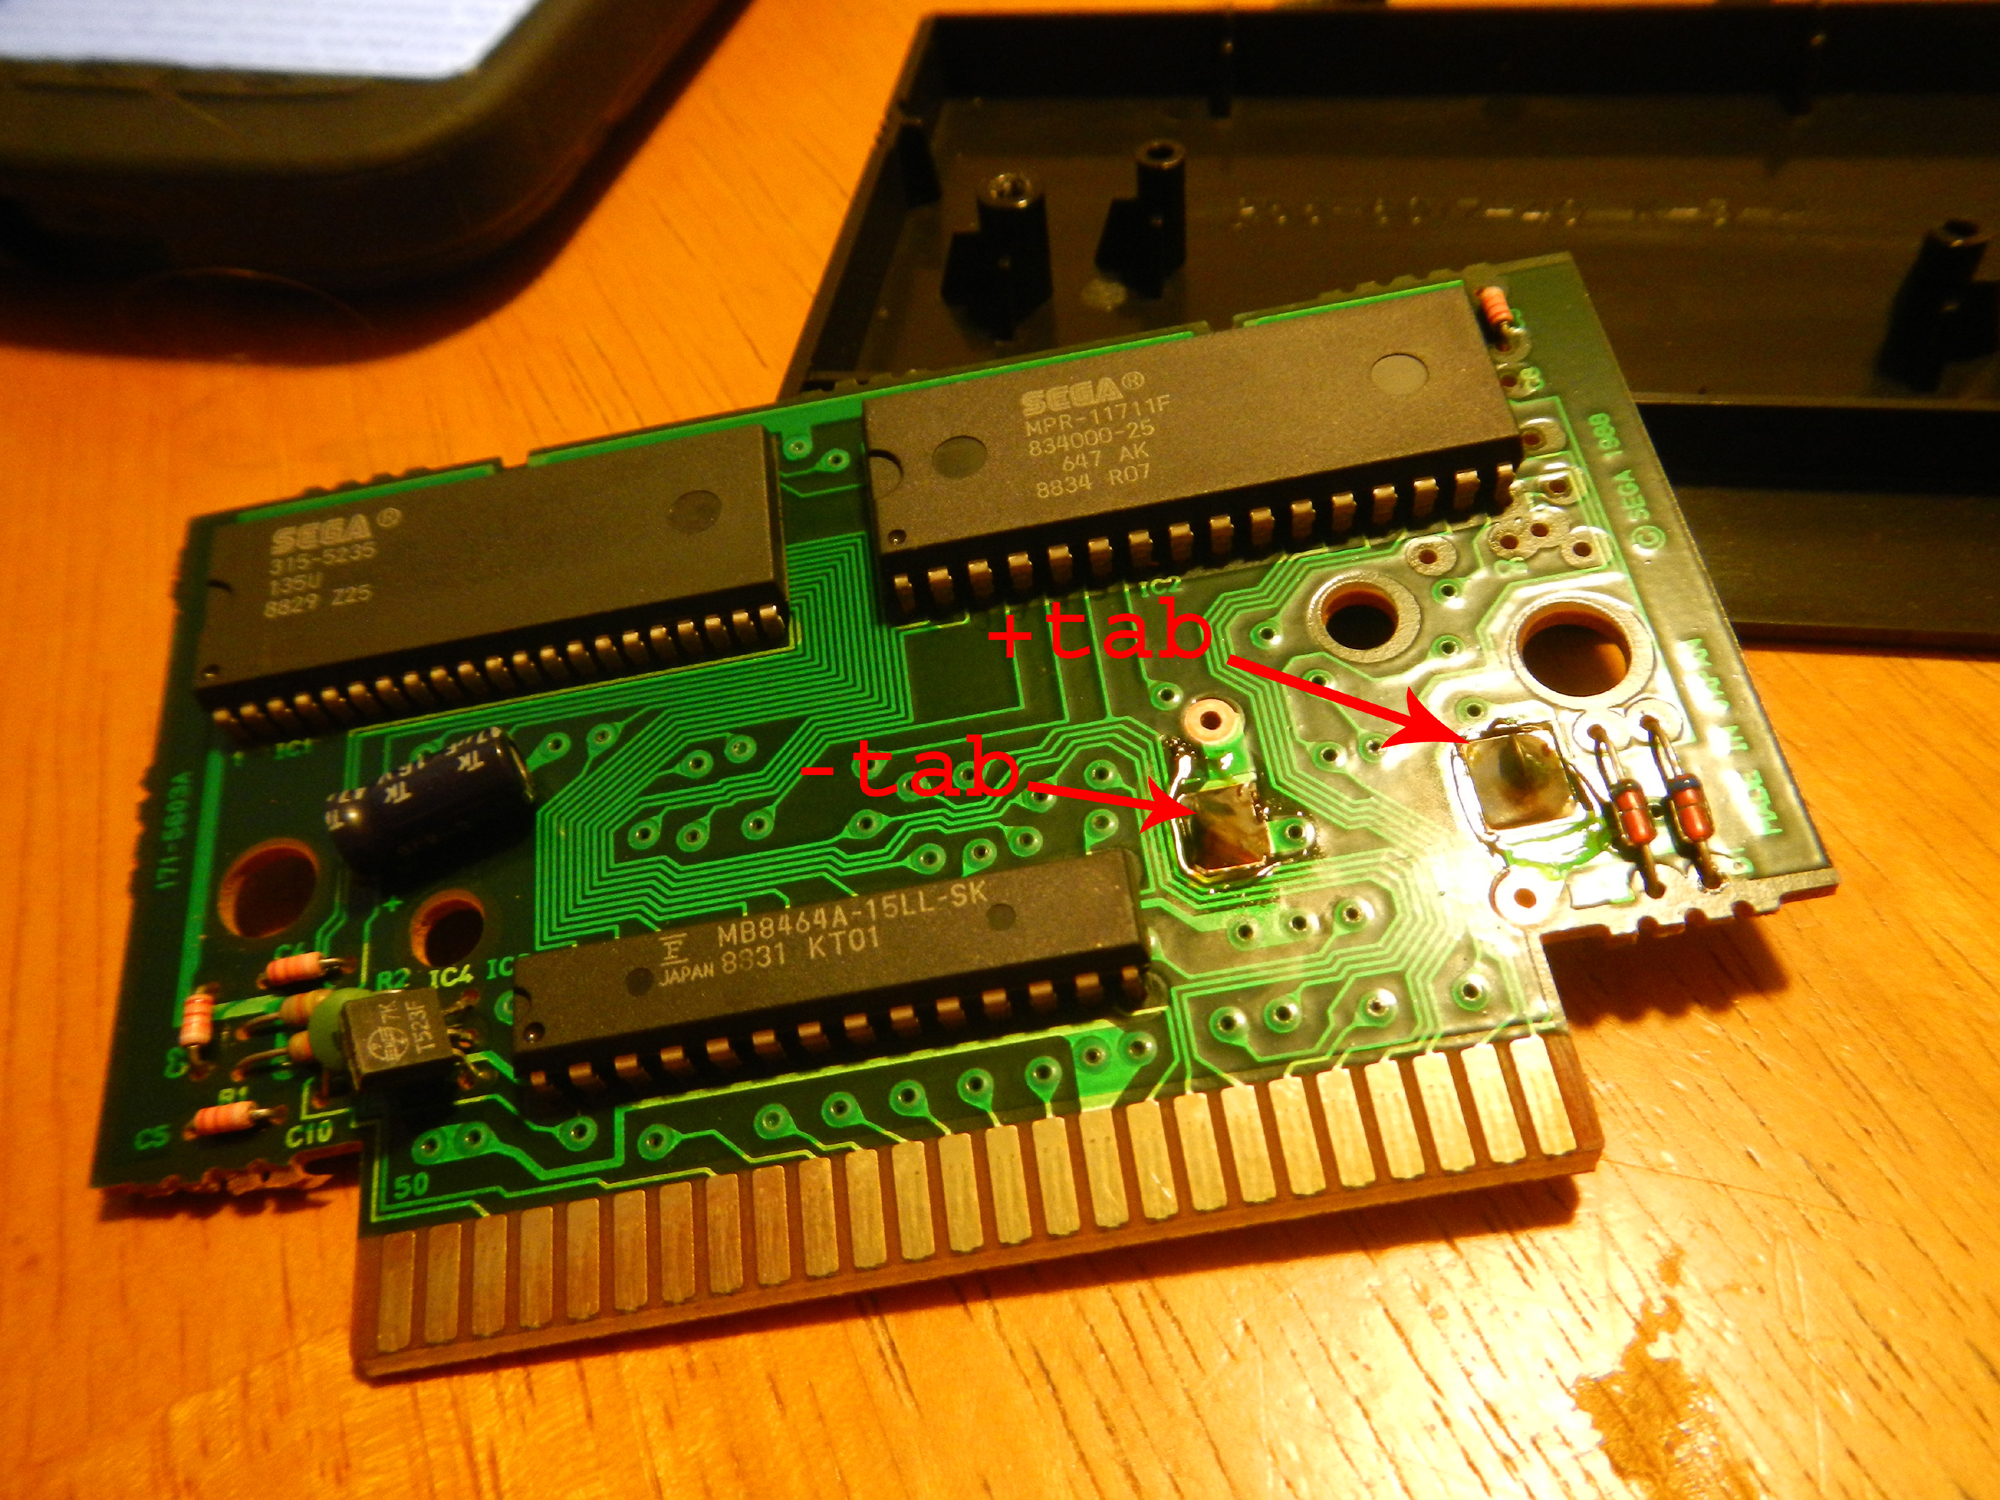
Just for bearing, the battery tabs comes through the PCB to the other side where they are soldered in. Notice the +tab on the outside. In order to remove the battery, the solder must be heated. Pineconeattack! used a solder sucker to remove the excess. Since I didn’t have one, I skipped this step. However, I had to be fast. Once I used my soldering iron to melt the solder, I had to quickly wiggle the battery tab out of the slot before the solder again re-hardened. I did the same to the other tab. Eventually the old battery pulled out.

I fitted the replacement battery into the slots. Noooooo! The tabs were too wide for the slots! …not the end of the world but I had hoped to avoid the next step. I had to cut the tabs to make them thinner. I honestly still don’t know what the correct battery would be. Sorry internet. You failed me too.

Using clippers to cut the tabs on the battery.
Once the width of the tabs were reduced I managed to fit them through the PCB. I re-soldered them into place and closed the cartridge back up. Then, the moment of truth.

SUCCESS!
Don’t worry Alis! We’ll defeat that evil Lassic this time! After all, we have another 25 years.

Hmm it looks like your site ate my first comment (it was super long) so I guess I’ll just sum
it up what I submitted and say, I’m thoroughly enjoying your blog.
I as well am an aspiring blog blogger but I’m still new to everything.
Do you have any tips for inexperienced blog writers?
I’d really appreciate it.
LikeLike
Well, I’ll give the same advice that one requires while practicing tai chi. Practice practice practice.
LikeLike
I bought my copy of Phantasy Star in 1990. Played it until near the end where you give Myau the nuts but I didn’t have the prism. Didn’t know what to do and left it.
2 weeks ago I took out that same copy and plugged it into my Master System (that I’d re-bought in recent years) and thought I’d see if my saves would still be there. Of course they won’t be but I’ll check. They were still there!
With the power of Google I fished Phantasy Star today, 15 May 2016 – 26 years later on my original save!
How long are these batteries supposed to last? I thought I’d definitely have to replace mine. I’m sure it will go soon though.
Great game. Thanks for the tutorial.
LikeLike
Thank you! It was worth the 15 year wait!
LikeLike
I bought my copy of Phantasy Star in 1990. Played it until near the end where you give Myau the nuts but I didn’t have the prism. Didn’t know what to do and left it.
2 weeks ago I took out that same copy and plugged it into my Master System (that I’d re-bought in recent years) and thought I’d see if my saves would still be there. Of course they won’t be but I’ll check anyway. They were still there!
With the power of Google I finished Phantasy Star today, 15 May 2016 – 26 years later on my original save!
How long are these batteries supposed to last? I thought I’d definitely have to replace mine. I’m sure it will go soon though.
Great game. Thanks for the tutorial.
LikeLike